

©Pat Ashforth & Steve Plummer 2021
©Pat Ashforth & Steve Plummer 2021

EYE OF THE TIGER : PART 3
Illusion Knit Tutorial Part 3: Starting to colour in the image
Because I am only using two colours I can only show areas of light, areas of dark and areas of intermediate shadow AND, because I cannot show anything smaller than one stitch, I need to make sure that the smallest detail that I want to show is possible at the scale I am using.
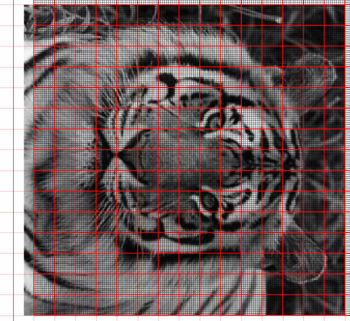
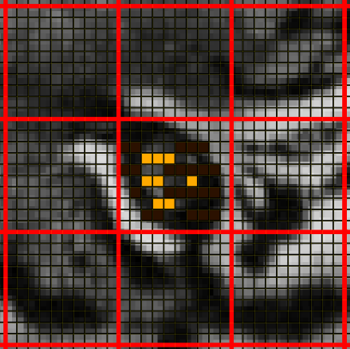
The smallest detail on this type of subject is likely to be the pupil of an eye. For this reason I am going to zoom in on the left eye of the tiger to see if I can get enough detail in my knitting to show this eye.
Here again is the image I am using in the correct position on my grid.
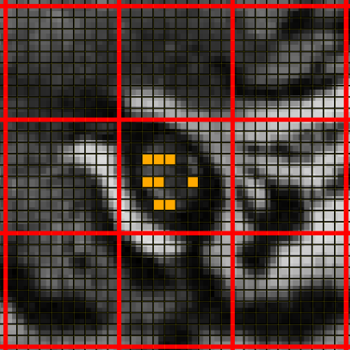
The pupil of the eye and the surround of the eye will have to be in my dark colour. The white of the eye will have to be in my light colour.
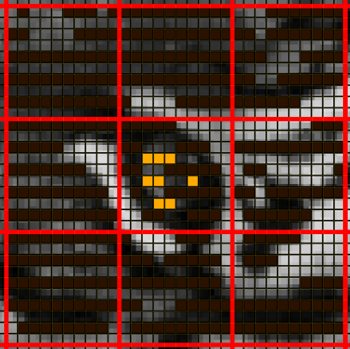
I start by putting a few light coloured squares/rectangles on Layer 3 of my chart to show the areas that I need to look light coloured in the completed work. (You do not have to draw and fill individual squares. Use longer rectangles where possible.)
I want one of the small bits of light colour to put a slight sparkle in the eye of the completed illusion.
Remember that the chart shows ridges of knitting and the colours alternate from light to dark from ridge to ridge. The light coloured rectangles I draw in here will determine, eventually, the colour of my first ridge of knitting.
Inkscape note: To set the colours for these rectangles click on the coloured box next to either Fill or Stroke at the bottom left of the main page. This will allow you to change fill colour, line colour and line width.
After you have drawn your first coloured rectangle you might find it easier to copy and paste and then reposition and stretch this new rectangle for each new rectangle.
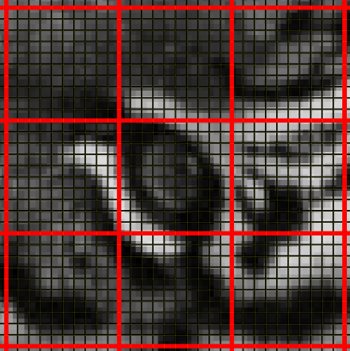
After placing a few light coloured rectangles I’ll start to think about the dark colours as well. Changing to Layer 2 of my chart I’ll fill in a few of the dark colour rectangles. These will be in the ridges between those I have already decided are going to be light coloured.
If I want to see an area of light colour in my completed illusion then the stitches in the dark ridge directly below those light stitches will need to be purled. If I want to see an area of dark colour in my completed illusion then the stitches in the light ridge directly below those dark stitches will need to be purled.
The boxes on the chart that remain white show the stitches that need to be purled on the wrong side row when I come to do my illusion knitting from the chart.
Areas on the image that I decide are in between the light and dark (intermediate shading) will show up on my chart as light coloured rectangles and dark coloured rectangles overlapping.
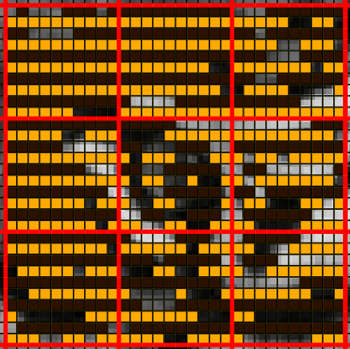
Continue in this way, swapping between light and dark coloured layers until you have completed an area around the eye.
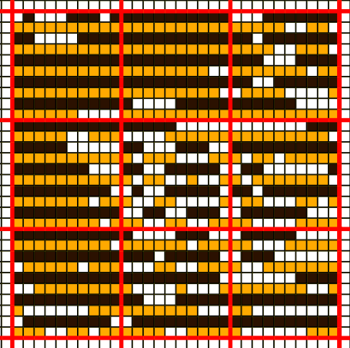
You will need to switch off the visibility of the layer holding the original image so that you can see the effect that your colouring is having. You will also need to switch off this image before you print out your chart or use it to knit from.
Inkscape note: To switch off the visibility of a layer, click on the name of the layer in the drop-
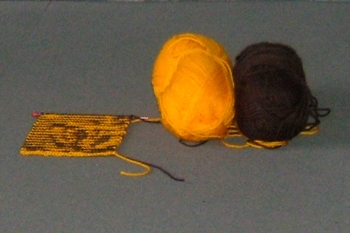
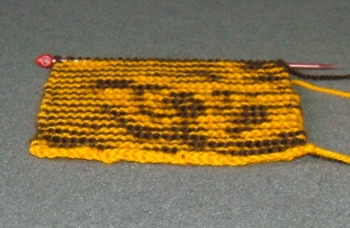
Complicated areas, such as the area surrounding the eye, may need to be test knitted to make sure that the illusion is working in the way that you want it to. Knit the small area, check it, make any changes you need to make to the chart, re-
Here is the knitted sample.
Can I see the eye the way I want to? Yes.
Am I happy with the knitted sample? No, I’m not happy with the colours I chose to start with. Perhaps a slightly lighter light colour would be better.
| The Gift of Life |
| Merry Christmas |
| Drawing Programs |
| Using Inkscape |
| Modelling Programs |
| George Maffett's Introduction |
| Art tutorials |
| Geometric tutorials |
| Video tutorials |
| Maple Leaf |
| Tiger |
| Maple Leaf : Part 1 |
| Maple Leaf : Part 2 |
| Maple Leaf : Part 3 |
| Tiger : Part 1 |
| Tiger : Part 2 |
| Tiger : Part 3 |
| Tiger : Part 4 |
| Tiger : Part 5 |
| Tiger : Part 6 |
| Tiger : Part 7 |