

©Pat Ashforth & Steve Plummer 2021
©Pat Ashforth & Steve Plummer 2021

EYE OF THE TIGER : PART 4
Illusion Knit Tutorial Part 4: Continuing to colour in the image
Pictures are not all at the same scale
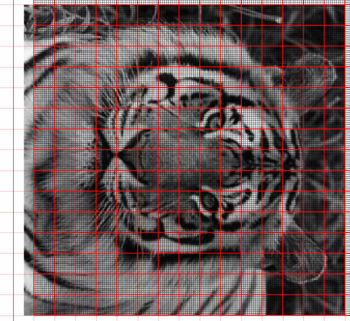
You will need to decide if you want your completed project to be 150 stitches wide, as it is at present ...
... or if you want it to be 80 stitches wide.
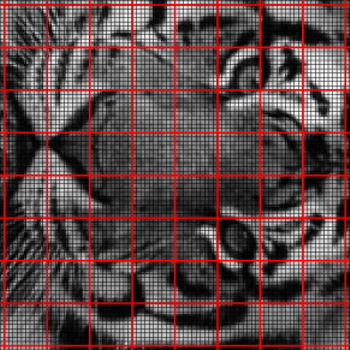
I will continue with the tutorial for the original 150 stitches. Your choice will determine how much of the grid you colour.
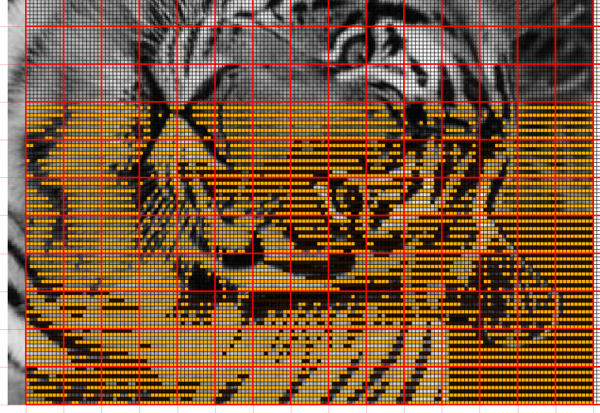
When I am happy with the area around the eye I start to extend this over the surrounding areas, swapping between my two colours as seems most appropriate.
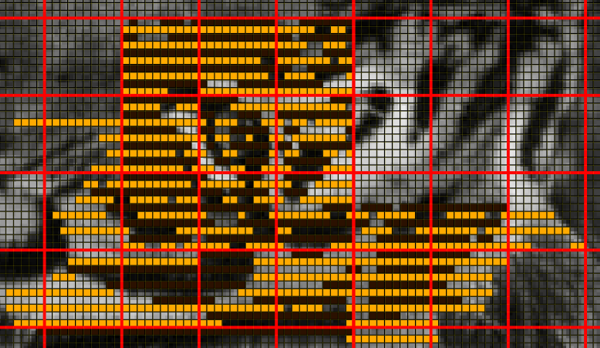
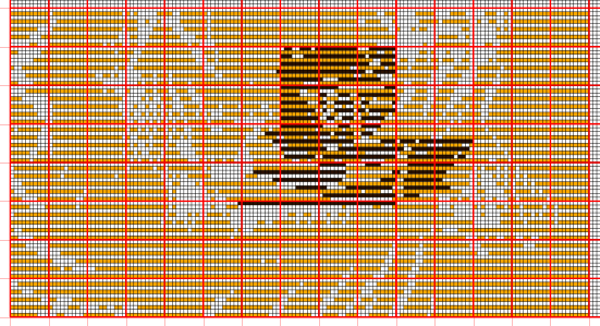
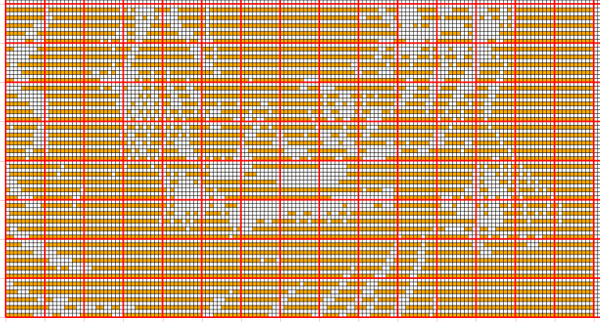
At times I will hide the image to better see what effect my colouring is having.
The design is not always obvious when I look at it in this way. What I need to be checking is that places where I need knit stitches and places where I need purl stitches line up in the way I want them to, and that places with intermediate shadow have both colours with knit stitches.
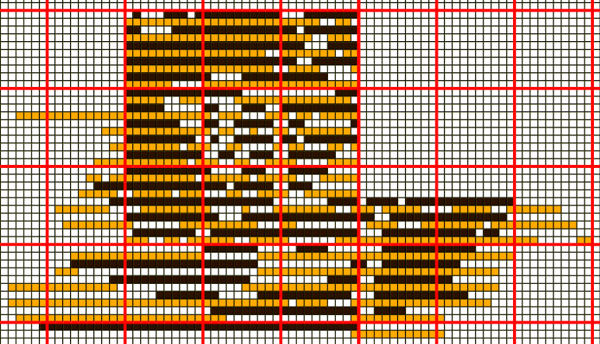
Looking at the light coloured stitches can often show me more than looking at both colours. The gaps in the light colour stitches show me where the darkest colour is going to show through.
Continue colouring, moving out and down from the eye. I like to be able to start the knitting of my design before I have completely finished the drawing. This means that I can swap between tasks and work on my project without getting bored. I can only start the knitting once I have the bottom edge coloured.
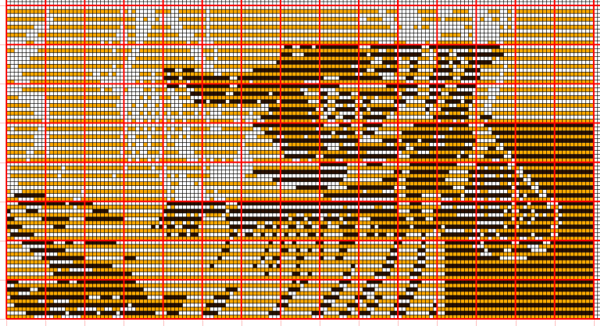
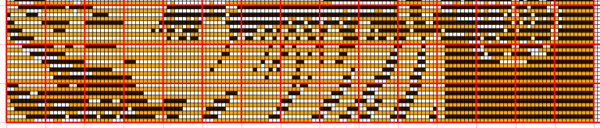
Turn off the image to check everything is going to plan.
Turn off the dark colour because it might give me a better indication that things are working.
Turn the dark colour back on but leave the image switched off. I should now be able to print out a section of the chart for me to start knitting.
Remember
The chart shows ridges of knitting (not rows of knitting).
Cast on 150 stitches (or 80 stitches for the cropped version) in your lighter colour. This is a right side row.
Every right side row knit.
On wrong side rows follow the chart from left to right, coloured squares are knit stitches, white squares are purl stitches.
Change to your other colour after each ridge (2 rows) of knitting.
I might want to incorporate a border into my work. I could add extra stitches and/or ridges. The alternative is to knit a border around the piece when I have finished.
| The Gift of Life |
| Merry Christmas |
| Drawing Programs |
| Using Inkscape |
| Modelling Programs |
| George Maffett's Introduction |
| Art tutorials |
| Geometric tutorials |
| Video tutorials |
| Maple Leaf |
| Tiger |
| Maple Leaf : Part 1 |
| Maple Leaf : Part 2 |
| Maple Leaf : Part 3 |
| Tiger : Part 1 |
| Tiger : Part 2 |
| Tiger : Part 3 |
| Tiger : Part 4 |
| Tiger : Part 5 |
| Tiger : Part 6 |
| Tiger : Part 7 |